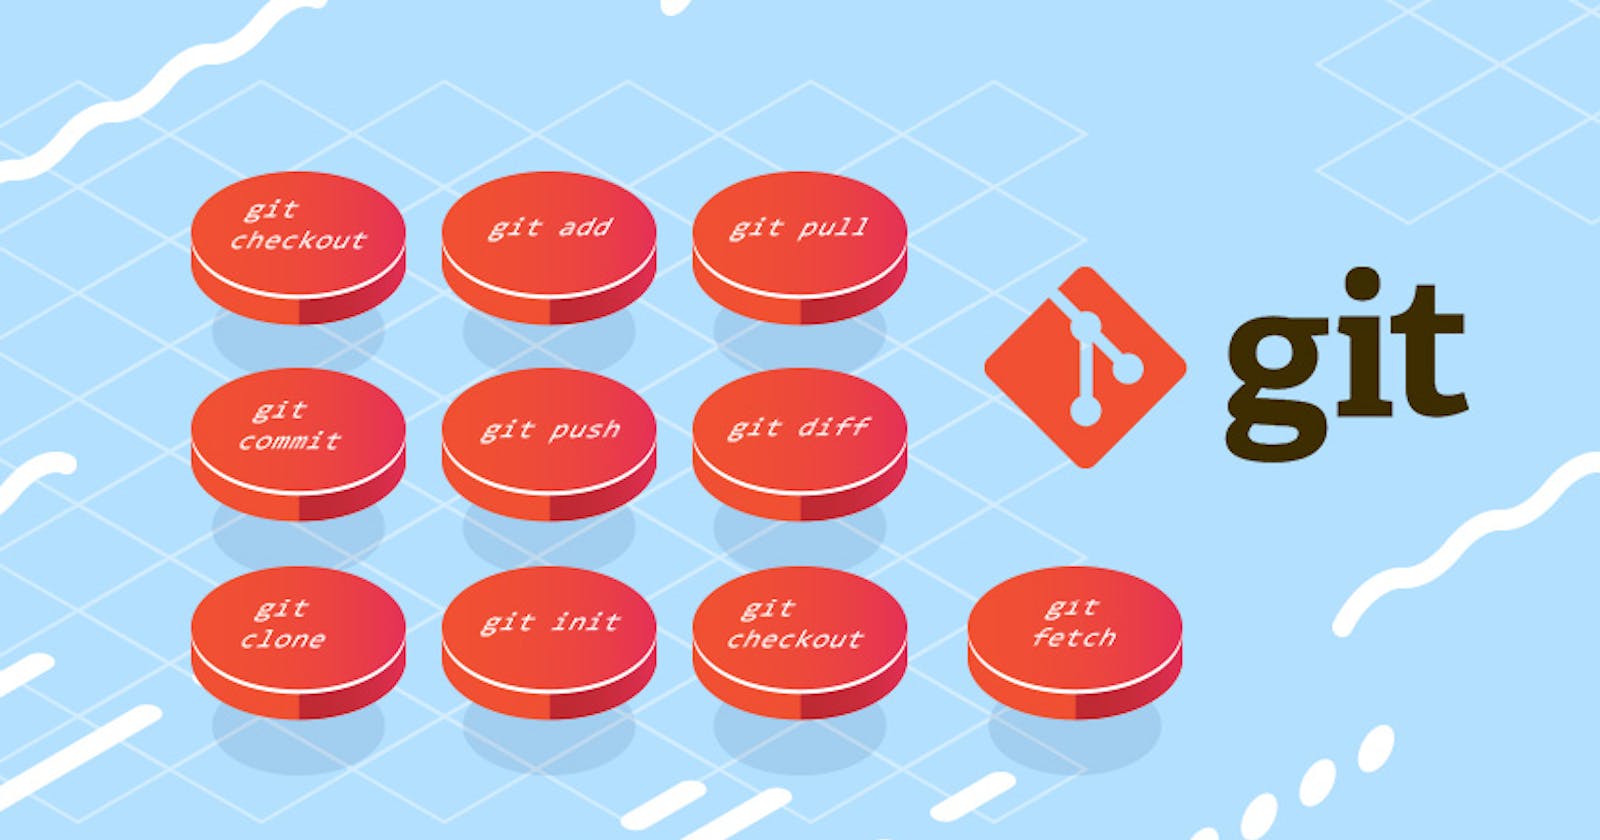


In my last post, we talked about how to get started with the terminal. In this post, we will continue the discussion and focus on Git, a powerful version control system that can be used from the terminal. We will explore the basics of Git, how to set up a Git repository (repo), and the most common commands. We will also dive into advanced topics such as branching, merging, and customizing the Git environment. Let's get started!
Basics of Git
Git is a distributed version control system that allows software developers to keep track of changes to their code over time. With Git, developers can work collaboratively on the same codebase, and Git helps ensure that changes made by one developer do not conflict with changes made by others.
To get started with Git, you first need to install it on your local machine.
git config
Upon initial installation of Git, you'll typically need to run this on your machine. The `git config command is used to configure settings for your Git installation. These settings can be stored in three different places: system-wide, user-specific, and repo-specific.
Here are some common uses of the git config command:
Setting up username and email:
git config --globaluser.name"Your Name"git config --globaluser.email"your.email@example.com"Setting the default text editor:
git config --global core.editor nanoViewing Git configuration settings:
git config --list
Local repo commands
git init
The git init command creates a new Git repo. This command could be used to convert an existing, unversioned project to a Git repo, or initialize a new, empty repository. This command is best used at the beginning of the project, as other commands are not available outside of an initialized repo.
git add .
With a Git repo now set up, you can now start tracking changes to your code. After making changes to your repo as you normally would, you can then stage the changes to be committed to the repo using git add .. While this stages the changes, it does not commit them to the Git repo.
git commit -m "commit message"
If you're looking to commit the changes to the repo. you use the git commit -m "commit message" command. While you can write Git commit without any comments, the -m allows you to write a brief description of what kind of changes you made - this will be useful if you ever need to go back and review your code history later on. The commit message should be concise and descriptive, as it will help you and other developers understand the purpose of the changes.
It's also important to note that once you have committed changes to a repo, they are permanent and cannot be easily undone. This is why it's crucial to thoroughly test your code before committing changes.
git commit --amend
If you forget to stage a file or omit important information from the commit message, git commit --amend allows you to edit the most recent commit.
Collaborative Git commands
git push origin master
In addition to committing changes to a local Git repository, you can also push changes to a remote one such as Github or Gitlab. This allows you to share your code with others and collaborate on a project. To push changes to a remote repository, you would first need to add the remote repo to your local Git one, then run git push origin master.
The origin in the above command refers to the name of the remote repo, while master refers to the name of the branch you want to push changes to.
git clone
If you're looking to copy a repo to your local system, you can use the following syntax:
git clone https://github.com/user/repo.git
This command allows you to have a copy of the it on your local system and make changes to it.
git fetch
To retrieve changes from a remote repo that does not merge them into your local branches, you can use git fetch. This command updates your repo with the changes from the remote one, but does not merge those changes into your local branches.
git branch
When working on a remote repo, git branch is used to create and manage branches. Branches allow you to work on different features or versions of your code without interfering with the main branch (usually named master.
To create a new branch, you can use:
git branch new-branch-name
git checkout
This Git command allows you to switch between different branches or to restore files in your working tree to a previous state. There are different ways to use git checkout:
git checkout new-branch-name: switch to `new-branch-name`, allowing you to work on that branch's code.git checkout HEAD path/to/file: restore a file atpath/to/fileto the state it was in, in the most recent commit.git checkout -b new-branch existing-branch: create a new branch based on the existing branch. This can be useful for creating a new branch to work on a specific feature or to make a set of related changes.
git merge
Once you have made changes to a branch, git merge allows you to merge changes from that branch into another. If you have made changes to a branch named feature1, you can merge those changes into the master branch using the following:
git checkout master
git merge feature1
git pull
To retrieve changes from a remote repo and merge them into your local one, you can use git pull. This command is equivalent to running git fetch, then git merge. This allows you to stay up to date with the latest changes from other collaborators and keep your local repo in sync with the remote one.
git pull origin branch-name:originrefers to the name of the remote repo andbranch-namerefers to the branch you want to pull changes from.git pull: will pull all changes and updates from the remote repo to your local one.
How to get used to it
Getting used to Git commands can be a bit of a challenge, especially if you're new to version control systems. If you're looking to get more familiar with Git commands, you can:
Before you dive into more advanced Git commands, it's important to have a solid understanding of the basics, such as cloning repos, creating branches, committing changes, and pushing to remote repos.
The more you use Git, the more comfortable and confident you will become. Try to work on small projects or use Git for your personal projects to get a better understanding of how it works.
Git has extensive documentation that you can use to learn more about its commands and features. Documentation is a great way to learn more about a specific command or if you want to learn more about a particular aspect of Git.
Visual tools such as Git clients, visualization tools, and cheat sheets can help you understand how it works and make it easier to use.
Collaborating on a project with other Git users can help you learn from others and gain a deeper understanding of how Git works in a real-world setting:
Play some of the games dedicated to learning Git:
Time to get started
Git is a powerful version control system used by software developers to keep track of changes to their code over time. Using Git can make your code better in several ways.
First, Git allows you to easily keep track of changes made to your code, making it easier to revert to previous versions if necessary. Additionally, Git improves collaboration with other team members, as changes can be easily shared and merged with other codebases. Finally, Git lets you work on multiple projects at once, as changes made to one codebase do not affect others.
In summary, Git is a powerful tool and in conjunction with the command line, you can take advantage of its full range of features and make your code better. Are you ready to use Git and the command line to improve your coding experience?